The Situation
It took me a while to find out that Shopify has a hidden gem deep down in its rabbit hole of APIs and it’s called metafields. With most of the general CMS or eCommerce solutions custom fields or metafields are taken for granted and are more or less easy to integrate.
Using metafields in Shopify felt strange at first, but this was mostly caused by the API version change and a missing update in the js-buy-sdk, those errors are fixed now. Additionally metafields are not limited to products, you can add metafields to your users to collect additional information, to your shop and many other objects. Therefore, metafields are not public or accessible via the Storefront API at first after creation and have to be exposed.
We maintain a custom storefront for a winery with a landing page, the usual meta pages like legal notice and privacy information and a shopify integration with a manageable amount of products. We are using the next.js framework with a custom express.js server and Shopify’s js-buy-sdk for the custom Storefront API integration and the checkout.
The Requirement
Due to legal regulations you have to provide a little more information than the description and the title to sell alcoholic beverages as wine in Germany, so we needed to extend our products via metafields. While Shopify’s app store is offering many, many solutions for metafields and content creation, the Shopify Metafield API is relatively new (2019-07) and you have to abstain from bulk editing, imports or other features.
If the shop is only maintained and managed by your customer, a solution via plugins will be a lot easier to handle, but if you have a decent amount of products and need to fill the shop initially, you will save a lot of time when you know how to use GraphQL, because the whole Shopify universe and your shop can be controlled via GraphQL mutations.
The Solution
To communicate with the GraphQL Admin API some of your requests have to be authenticated. I am using Postman to send requests, but you can also use the GraphiQL Toolbox or any other tool.
Authenticate with the Shopify Admin API
You can access or create your credentials in your Shopify backend, just go to Apps on the bottom you can find a small notice “Manage private apps”. There you can create your custom API credentials in the section “Admin API”. To make an authenticated request, just add the credentials under Authorization and select “Basic Auth“:
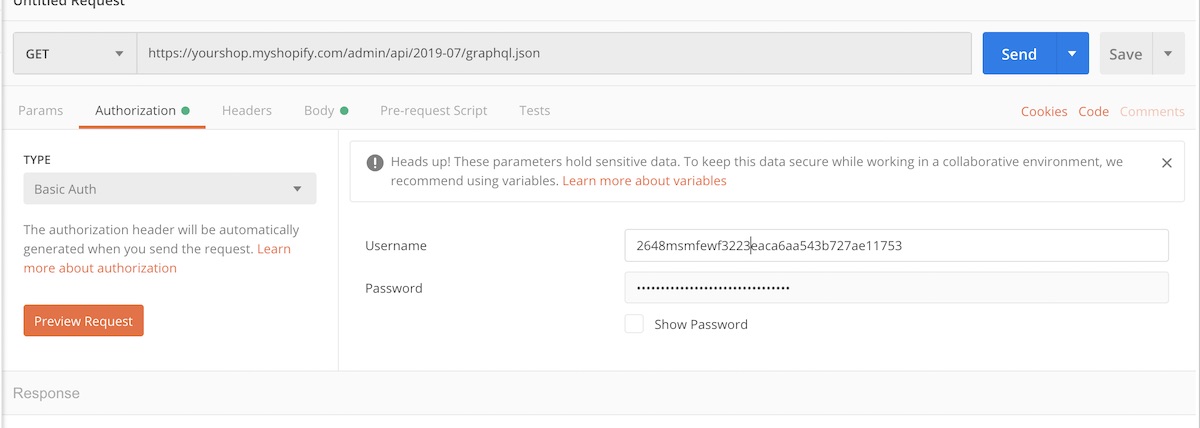
All requests or mutations can be defined within the Body of your request:
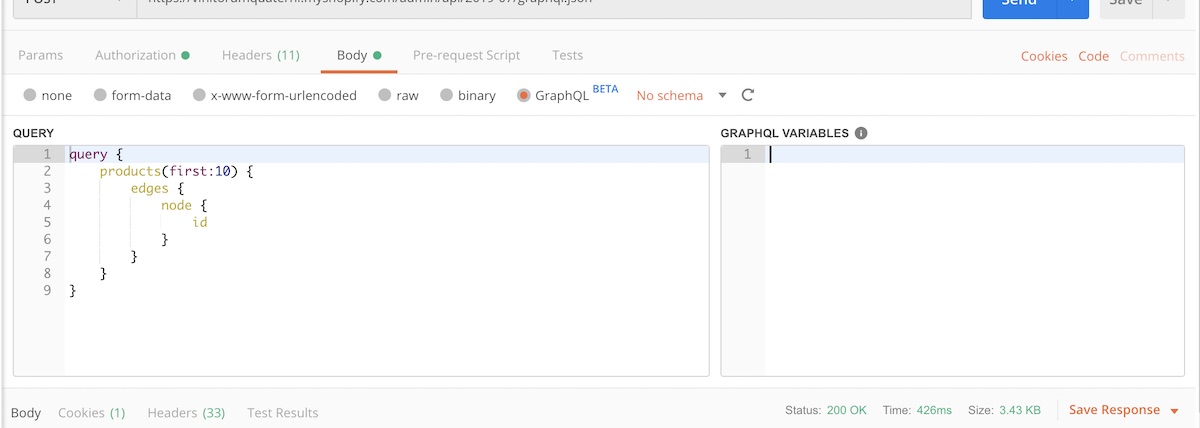
As you can see, Postman supports GraphQL, so let’s start with the first request to get our products.
Get Product Ids
query {
  products(first:10) {
    edges {
     node {
       id
       handle
     }
    }
  }
}
The simplest query will just return all the ids and the product handle for easier identification.
Add Metafields to Shopify
The GraphQL Admin API offers mutations to update products or other store objects.
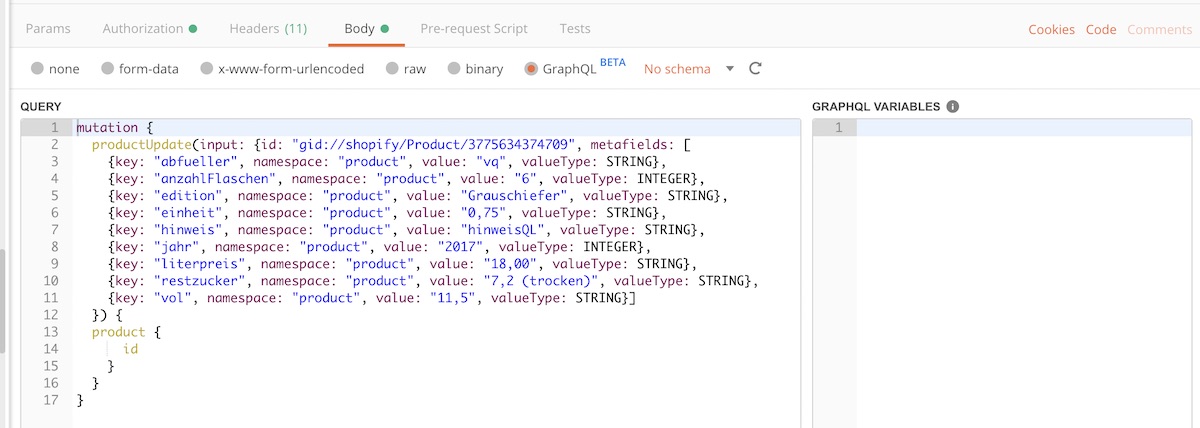
The mutation productUpdate expects a ProductInputObject and returns the product id upon successful creation. You can find a reference of all accessible fields in the Shopify Docs. For adding metafields you have to pass a metafield object with a key, namespace, value and valueType.
mutation {
  productUpdate(input: {
    id: "gid://shopify/Product/YOUR_PRODUCT_ID",
    metafields: [{
      key: "key",
      namespace: "product",
      value: "value",
      valueType: STRING
    }]
 }){
   product {
     id
   }
  }
}
Expose metafields to the Storefront API
As said earlier, you can also store super-secure and private user data in your metafields, so no metafield is exposed by default. If you want to have access via the Shopfiy Storefront API, you have to expose each metafield with its namespace and key.
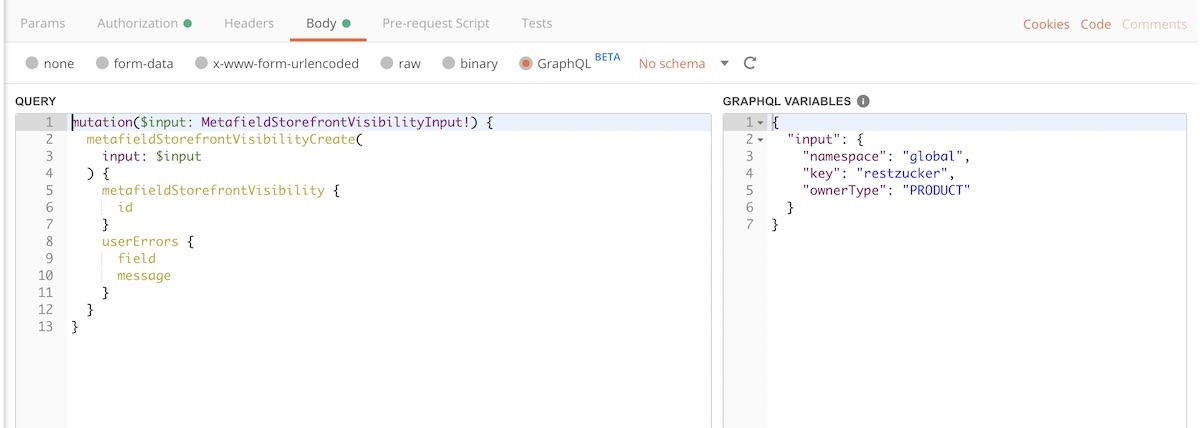
mutation($input: MetafieldStorefrontVisibilityInput!) {
  metafieldStorefrontVisibilityCreate( input: $input ) {
    metafieldStorefrontVisibility {
      id
    }
    userErrors {
      field message
    }
  }
}
Life pro tip: To stand back from extensive copy-pasta, just add this mutation to your query input and just change your GraphQL variables on the right side. The metafieldStorefrontVisibilityCreate mutation expects an InputObject:
{
  "input": {
    "namespace": "product",
    "key": "key",
    "ownerType": "PRODUCT"
  }
}
By now you have successfully created and exposed metafields for your products. You can check your success by requesting your products with metafields via a GraphQL request:
query {
  products(first:10) {
    edges {
      node {
        id
        handle
        metafields(first:10){
          edges {
            node {
              key
              value
            }
          }
        }
      }
    }
  }
}
You can use these metafields via the Storefront API or in your Liquid template files.

